A Panty Sewing Trick That Gets You
✨Pro Results
In my last post I went undie shopping and pointed out the hefty price tag that comes with our beautiful intimates *sigh*
But with so little effort involved in sewing our own underwear – especially panties! I concluded that they’d be the perfect thing to learn to sew! And having had a go myself I can confirm that…
It’s SUPER EASY to sew panties!
I also promised to make this even easier for you by showing you an awesome trick to sew pantie elastic like a pro! (See Below)
Seriously your pantie elastic will be perfect every time! ?
Have You Missed The Other Posts In This Series???
Don’t forget to scroll down and sign up for the next installment!


POST 2: Panty PRO-Sew Trick
You’re already reading this one

First of all thank you if you’re following this series of blog posts, welcome to my little underwear adventure! A lot of you have emailed me excitedly telling me you love the idea of sewing your own underwear! ? I am feeling you, same here!
So lets get into the little tutorial I promised – simplifying the only tricky bit!!!
This is a shortened exert from the Rita Panty Pattern Booklet (which IS coming very soon! Promise)
Sewing elastic can seem a little tricky because you need to stretch it slightly as you sew it on and pulling the elastic just the right amount all the way around the seam can be a worry for a beginner.
But you can get a consistent amount of stretch easily using this technique! We’re going to use the example here of the waist opening on the Rita Panty Pattern.
The trick is to precut your elastic to the right size and sew the ends together before attaching it to the waist opening.
So first we measure the waist opening, then multiply it by 0.95 (this gives you a 5% reduction for stretch) and add a little to sew the ends together. We cut a piece of elastic this length.
The Rita pattern booklet will have all the measurements worked out for you – but as an example the size 10 waist opening is 31.5 inches and the elastic needed is 30 inches.
Now simply sew the ends together and you have the perfect sized piece of elastic!

And attaching it couldn’t be simpler!
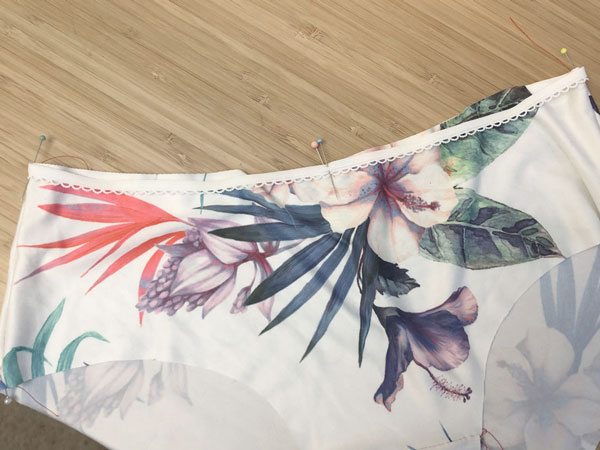
This is easily done by quartering your opening – folding in half one way, then the other, marking with pins…

…doing the same with the elastic…

…and then pinning the fabric and the elastic together at the pins.
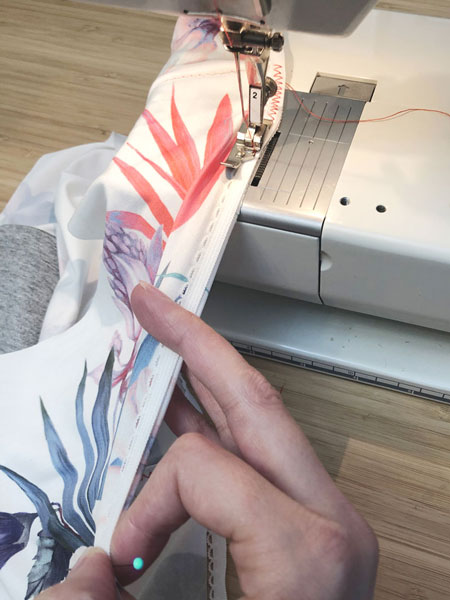
With the elastic and fabric pinned together at four points, you can simply place one point under the sewing foot (removing the pin) and holding the next pin, pull the elastic slightly so the fabric underneath is taught, then sew!
Do this all the way round with and you have a perfectly even amount of stretch all the way around your waist opening! Then just fold over the elasticated edge to the inside and sew again!
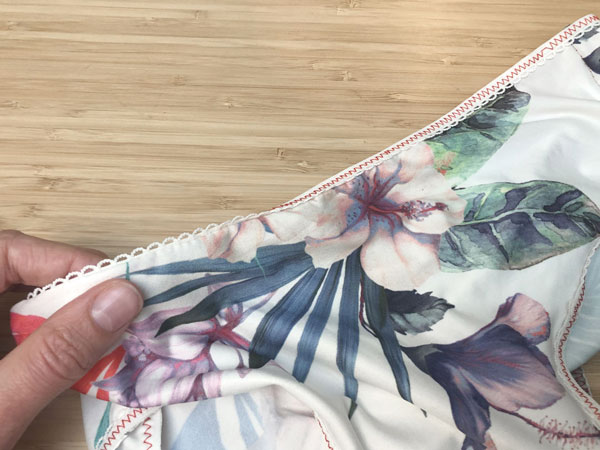
And you have your perfectly sewn panty elastic! How easy was that ?
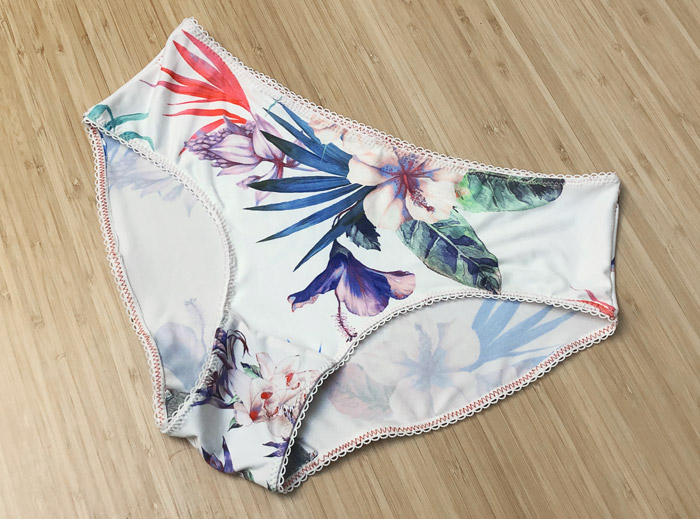
In my next post I’m going to share with you some gorgeous photos of my home sewn panties! And talk about the gorgeous fabrics you probably already have in your stash that would be perfect for panties like these!
If you want a heads up when the photos are posted, pop your email below and I’ll let you know! (I don’t share emails)
And please leave me a comment below and let me know what you thought of this mini tutorial. Do you think you could sew your own now? If not why not? I’m sure I can help ? Thanks for reading xxx
For more on underwear sewing visit the How To Make Underwear page and the How To Make Panties page
Panty Elastic is never the worrisome bit, to me. It’s how to do the gusset. I have no idea how to pattern that out and sew it. o.o
Ah brilliant! It was a quandary for me too but not tricky to sew at all. It’s got two identical pieces, an inside and an outside. You kind of sandwich the front and back pieces between them to get the seams lined up and sewn, then fold the whole thing inside out and it’s magically all sewn together! I have more detailed instructions coming in the Rita Panty pattern! But here’s a photo from the Rita booklet to illustrate