When you start learning to make a corset you tend to stick to pre made shop bought patterns, and while these are great, sometimes it can be hard to find what your looking for. Little details can be altered on a pattern – the top and bottom edge shapes for example, and an overbust can be cut down to make an underbust. If however, your after a specific shape or look, sometimes it’s just not possible to find the right pattern pre made. If you’ve made a corset or two already and are feeling confident, you may be considering just designing corset patterns for yourself.
Corset designing is good fun and it’s even more satisfying to be able to say ‘I designed this myself’ than it is to say ‘I made this myself’. So if you think you’re ready to give it a go, here are a few pointers to make the learning curve a little less steep!
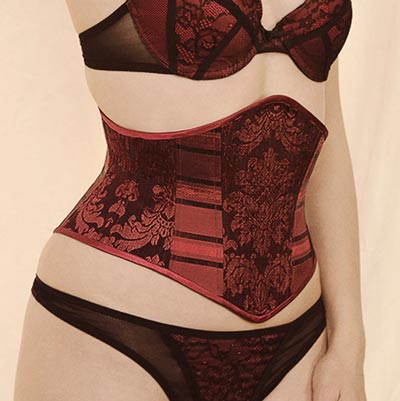
For a corset training corset to fit properly and give your silhouette that traditional corseted hourglass look you need to remember to reduce the waist area to around 4inches smaller than the wearers waist, so don’t forget to factor this in when drawing up your pattern.
The number of pattern pieces also affects the corsets ability to shape to the body and again for corset training corsets the more seams that will be boned, the stronger the corset construction. I would steer clear of making corset patterns with less than five pieces per side. Four just isn’t enough to get a good corset shape.
Don’t make the front of your design too long, if the busk at the front comes down too far it can dig into the pubic bone when the wearer sits down. You can get a good idea of how far you can go past the waist by marking the waist line on the intended wearer, having them sit down on a hard chair without slouching and measuring for the waist to the pubic bone.
Lastly, don’t design a corset that’s too complicated for your skill level. Get more advanced gradually, progress at the right speed for you and don’t try to cram too many features into one design! I know it can be tempting.