Yesterday I thought I’d show you all how I fix up my edges, that is, how I draw the top and bottom edges of a corset pattern – via a video blog. (So if you didn’t catch that check it out in my previous blog post below.)
As promised here are the photos I took so you can get a closer look.
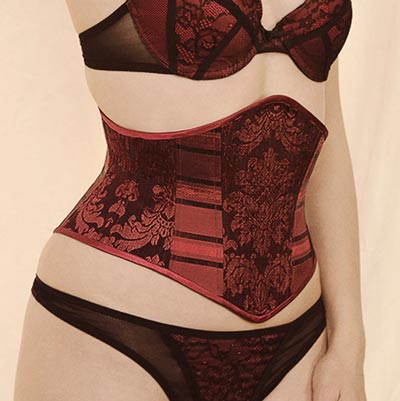
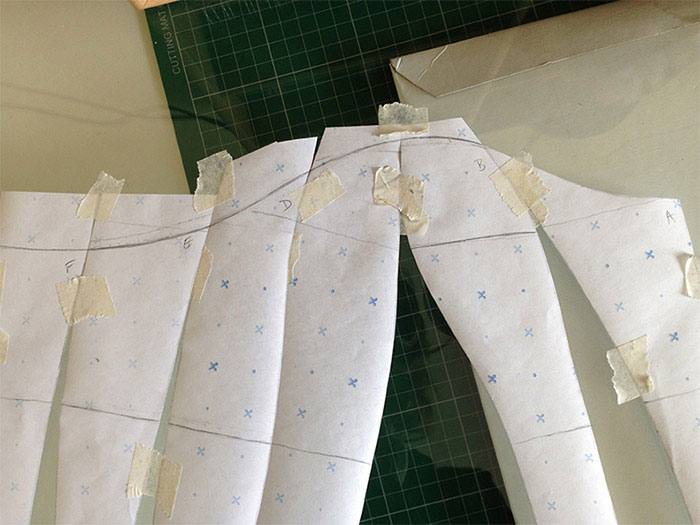
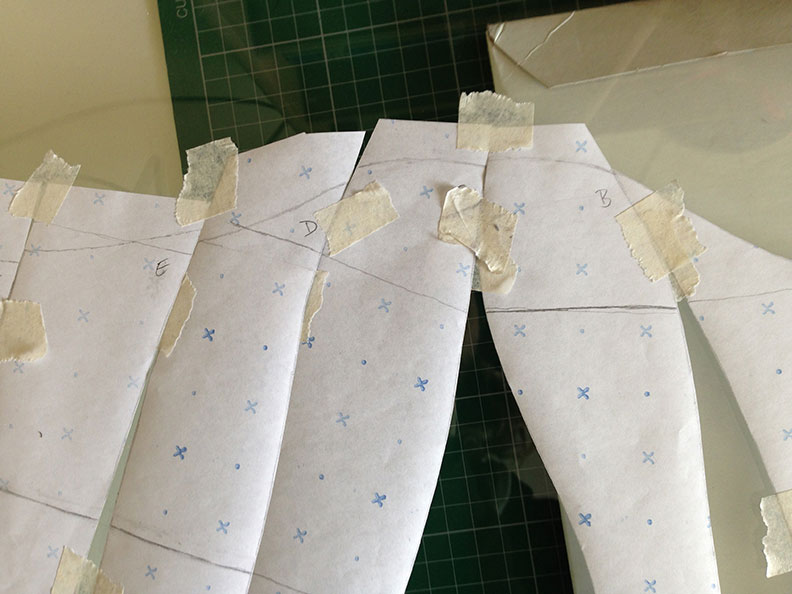
I masking taped the first pattern piece to my table then took each piece and, starting at the waist marks, I matched up the edges from the waist to the top and stuck down the pattern pieces one by one so I had the top edge all stuck down as it will look once the corset is sewn together. I could then redraw the top edge so it was one continuous flowing line. I then did the same for the bottom edge, matching the pieces up along the seams from waist to bottom and sticking them all down so I could redraw the bottom edge how I wanted it.
Here is the top edge stuck down before redrawing. As you can see it doesn’t match up correctly so we need to fix that!
Click pics for bigger images…

— Fixing the Top and Bottom Edges of Your Corset Patterns —
Close up of the top edge stuck down before redrawing.

Close up of the top edge after redrawing.

Bottom edge of corset pattern stuck down.

The bottom edge redrawn.

I then drew on a second bottom edge for an on the hip/over the hip corset by matching the pattern pieces together slightly further up.
So I hope that helps all those learning how to make a corset pattern from scratch. I’ll share a photo tomorrow of the pattern drafted before I cut it out as I managed to remember to take one so come back and check that out or you can click the big twitter button on the right of the website to stay updated, or click – twitter.com/makeacorset if the button is too far away (well your cursor would have to go all the way over there —>)