So it’s all sewn together now, the corset pattern looks pretty good shape wise, but I’ll have to wait till later to try it on as I have a fair bit to do today and I need to find my lacing tape so I can give it a proper try on.
Handy hint – get some lacing tape for your mock-ups – it comes as a strip of sturdy cotton tape (sometimes petersham) with eyelets pre-set. When you make a corset mock up sew it on the back to allow you to lace the whole thing up and try the fit properly. It only takes two quick lines of stitching to attach, then afterward rip it off to use on the next mock up! So you only need ever buy 1 meter! Cut it in half and when you sew onto your mock ups don’t trim it, just leave the extra length hanging at the bottom. This ensures it will always be long enough for all your mock ups.
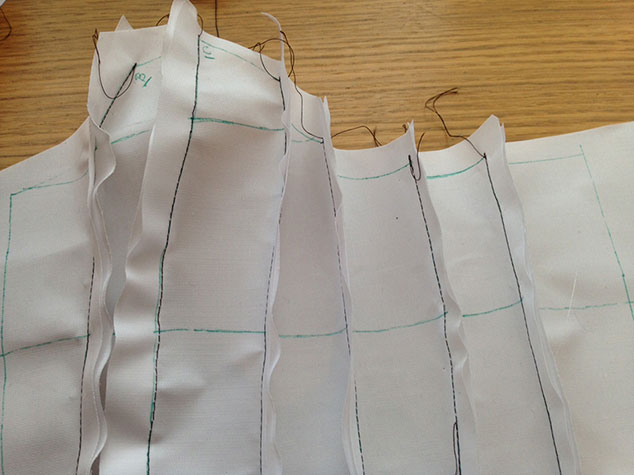
Anyway, here are the photos of the mock-up all sewn together and some pics of how I pin and sew the pattern pieces. I’ll update you when I’ve tried it on and if I alter the corset pattern, then again when I start to make a corset from it.
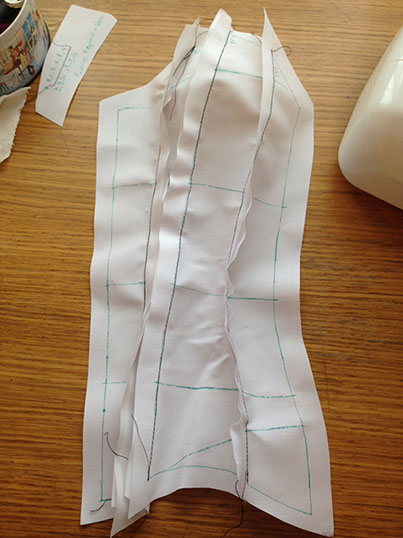
First four pattern pieces sewn together
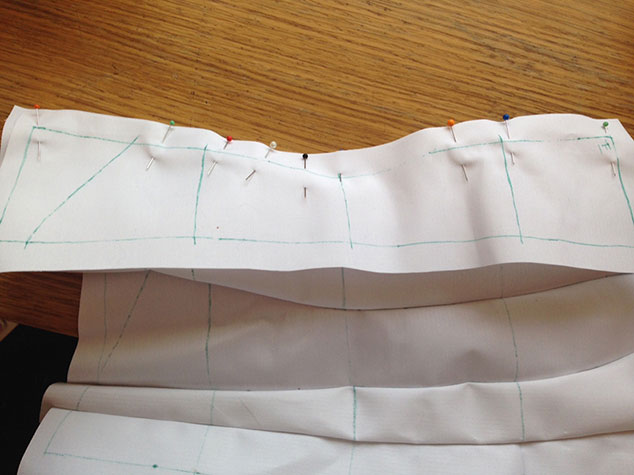
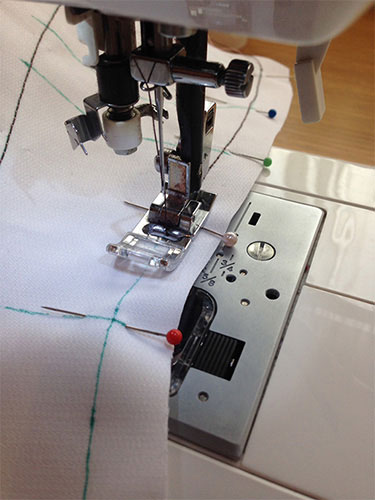
Seam pinning

Seam stitching
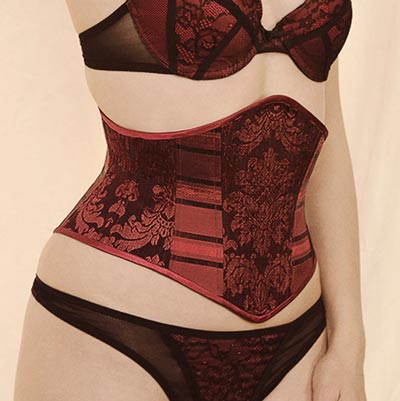
Corset Pattern done! – Bust area

Corset Pattern done! – Two bottom edge options