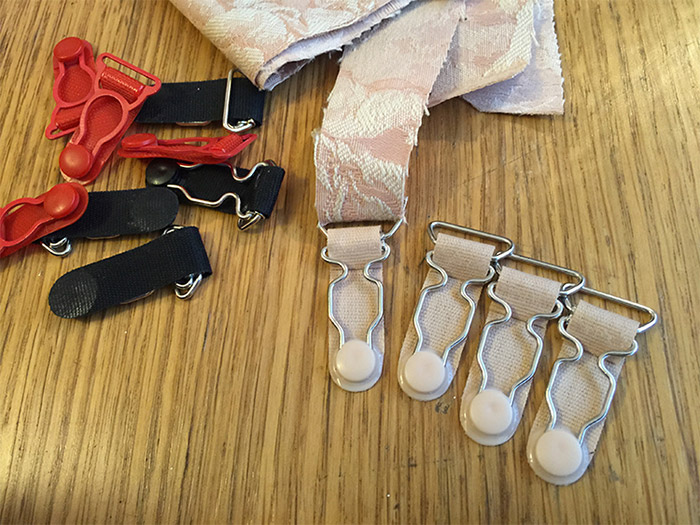
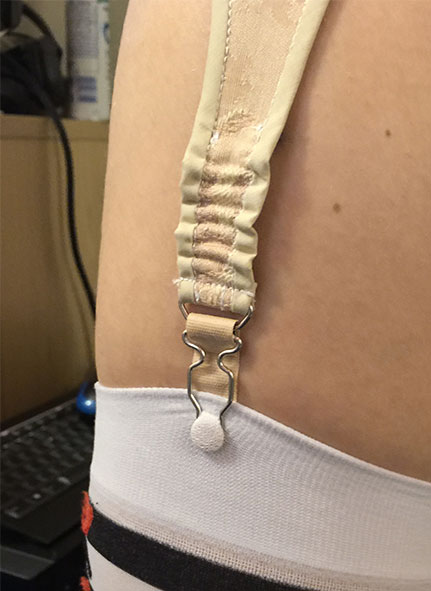
I ordered some suspender attachments and I’m very happy with the colour of these peach/pink ones, so with hurdle 1 accomplished – getting a colour that remotely matches my fabric – it was onto the challenge of how to attach them?

Suspender bits for corset making
I’ve already made the decision to have them permanently attached rather than having those removable ones that hook onto loops of fabric just inside the bottom edge of the corset. They’re nice but we want the suspenders on this corset pattern to be an integral ‘look at me’ feature 😉
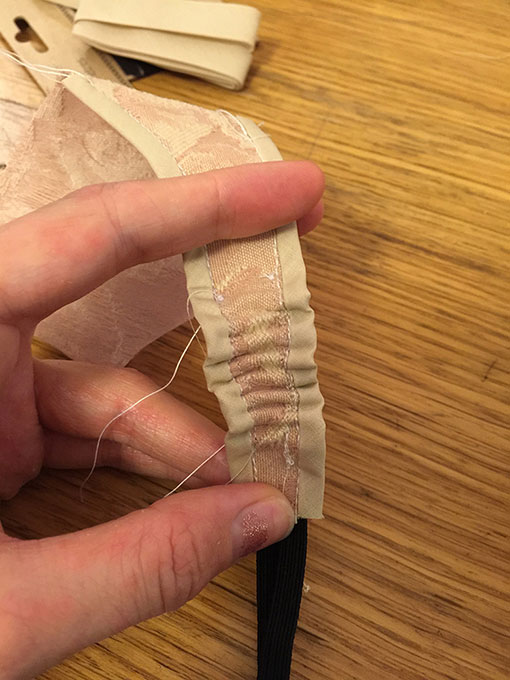
I’ve always assumed that suspender belts are elasticated for a reason and that without the give you might rip your stockings or otherwise have to deal with some level of discomfort. Yet after a look at what other corset makers were producing I realised there were a number that looked like they were directly attached without allowing any ‘give’ or spring. There’s still the possibility that a loop of elastic with the suspender clip attached has been invisibly sewn behind the fabric on these corsets, so I decided to do a little test.
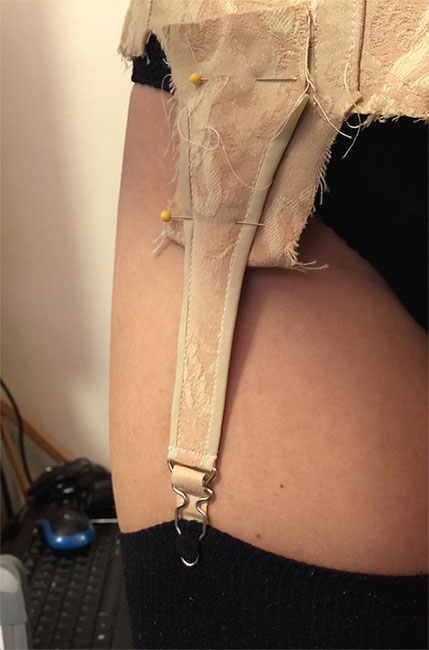
The first was to be my ‘springy’ test suspender. I sewed some elastic onto the back, pulling the elastic to roughly 3 times it’s length as it went through the sewing machine. (click the little pics for enlargements).
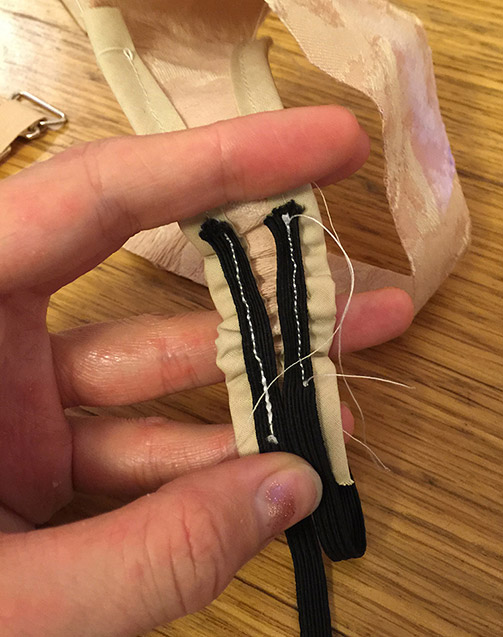
The other two were my completely ‘non-springy’ attachment tester and also a round ended suspender with the clip attached at the back using a loop of elastic – just to see how it would look. I definitely like the aesthetic of the non-springy one on the right below best.
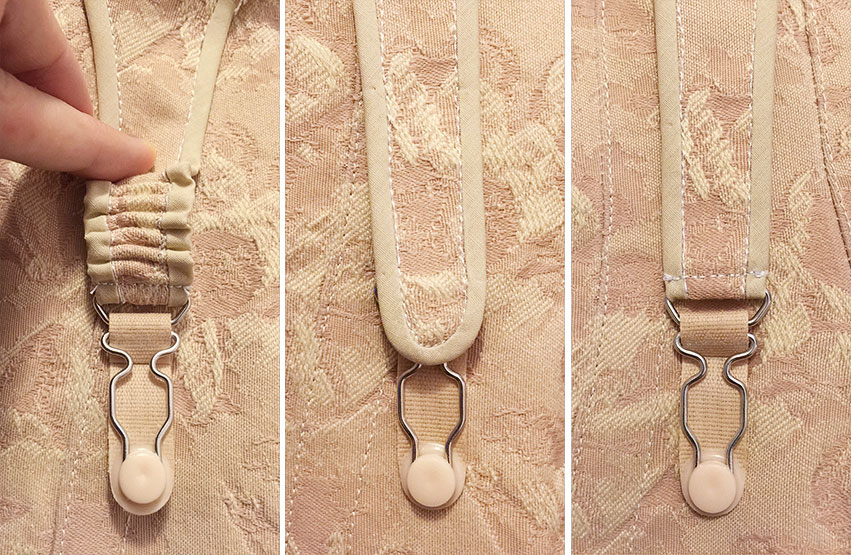
Corset pattern suspender variations
My findings were very interesting! I discovered that the stockings had enough give in them for the flexibility of the attachments not to matter at all. No problem walking, sitting and standing back up. So I’m opting to go for the classic sleek non-springy option for this corset. No fuss elegance all the way for this corset pattern. I will be finishing it off this weekend and I’ll share the completed corset with you on Monday!
Corsetry suspender test – option 2

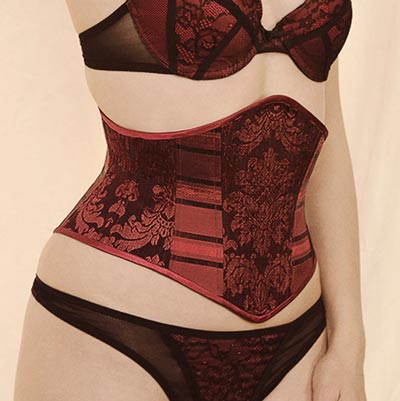
I really like the rounded one. It just seems more elegant. The one on the right is cool and looks good but the rounded one really calls to me. Love your work!
I like the rounded attachment. It looks sleek and doesn’t fully show off the suspender attachment 🙂