Emerald Erin's Corsets For Corset October


… [Corset 2] Because you’re not supposed to use lightweight fabrics for the outside of a corset, I used a double sided adhesive interfacing (Wonder Under) to fix it to the lining- which turned out a little heavier than I would have liked, I think in the future I would just keep them as separate layers and use an interfacing on the rayon
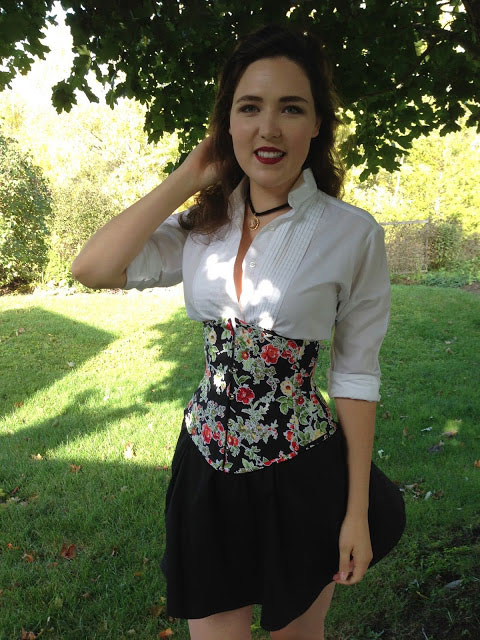
[Corset 3] This corset it the Angel Underbust pattern from Scarlett! Don’t you just love those lines! This is my first corset with hip gores 🙂 And I love it!
Now I must admit that I didn’t make a mock up of this (I know it’s shameful!) and it turned out a little too big, but it’s actually nice to have a corset that I can do all the way up and it’s not too squeezing! Otherwise I love the shaping of this corset- I’ll just make a smaller size next time 🙂 There will be a next time! I also love the slightly more business feel to this one with the herringbone fabric! I feel like I will get a lot of wear out of this one 🙂 🙂
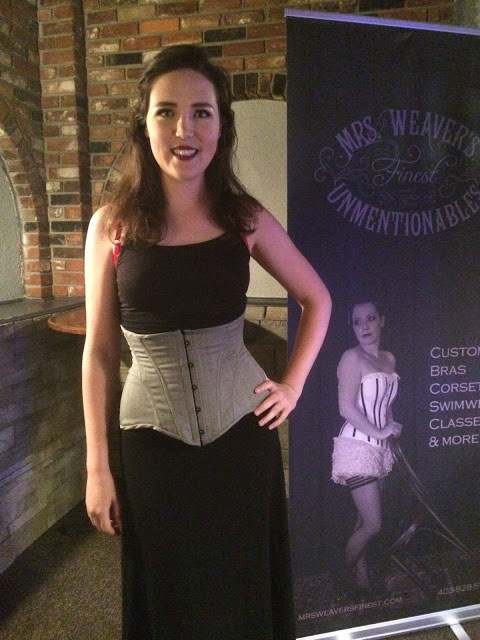
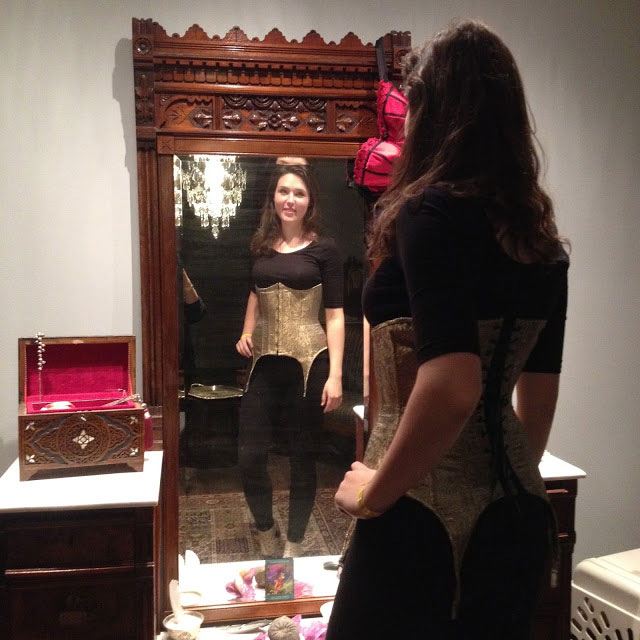
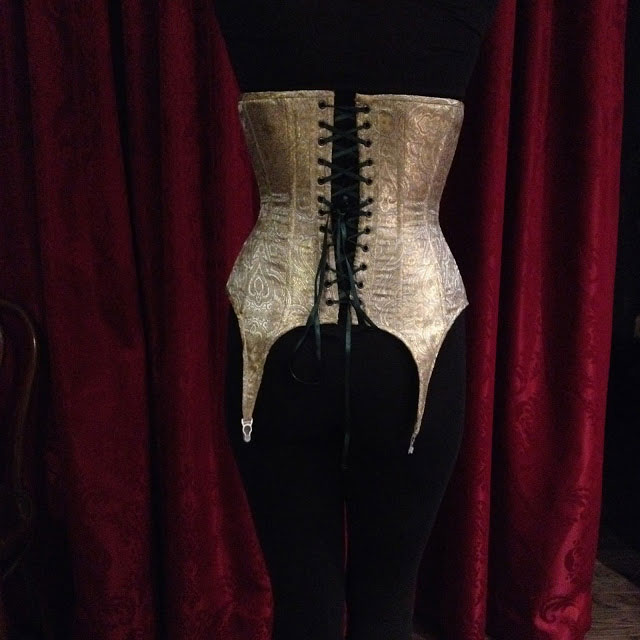
[Corset 4] This pattern is also a little roomy on me, but it does make for a very comfortable wearing corset! And I love the shape of the top of this corset- perfect for making a matching bra!
I really love the way that this corset turned out, and the fabric- which looks so rich and beautiful! It’s amazing how much your fabric can influence the look and feel of your corset! I’m so happy I have some of this left over, I’ll definitely be making another corset with it!”
If you’re interested in making corsets yourself, you can check out the Express Corset Making Course here.
Emerald Erin’s Corset October
Emerald Erin’s corset making started in October 2015 when she decided to not just review my corset making course but do a whole ‘Corset October’, swapping out her ‘bra-a-week’ for corsets for the month. So in the space of a month Erin made her first, second, third and fourth corsets! The first two were made from a Pin-Up Girls pattern and the third and fourth were my Angel and then Harlot corset patterns. Phew! I felt tired just reading her blog! Big love to Gibby her pooch!
“[Corset 1] I love how this turned out! I used a solid colour pinky-peach for the side and back, and the same colour fabric that has a flower print texture on the front for more interest. I also used the textured fabric to bind the top and bottom. Both of these fabrics are heavy-weight drapery fabrics from Fabricland, and underneath they are lined with a heavy weight cotton corset twill.
I am so thrilled with how this corset turned out! I feel so pretty in it! I’ll have to get used to the feeling of being corseted, and I’ll definitely have to make an outfit to go with this! …
Emerald Erin’s corset making started in October 2015 when she decided to not just review my corset making course but do a whole ‘Corset October’, swapping out her ‘bra-a-week’ for corsets for the month. So in the space of a month Erin made her first, second, third and fourth corsets! The first two were made from a Pin-Up Girls pattern and the third and fourth were my Angel and then Harlot corset patterns. Phew! I felt tired just reading her blog!
“[Corset 1] I love how this turned out! I used a solid colour pinky-peach for the side and back, and the same colour fabric that has a flower print texture on the front for more interest. I also used the textured fabric to bind the top and bottom. Both of these fabrics are heavy-weight drapery fabrics from Fabricland, and underneath they are lined with a heavy weight cotton corset twill.
I am so thrilled with how this corset turned out! I feel so pretty in it! I’ll have to get used to the feeling of being corseted, and I’ll definitely have to make an outfit to go with this!
[Corset 2] Because you’re not supposed to use lightweight fabrics for the outside of a corset, I used a double sided adhesive interfacing (Wonder Under) to fix it to the lining- which turned out a little heavier than I would have liked, I think in the future I would just keep them as separate layers and use an interfacing on the rayon.
[Corset 3] This corset it the Angel Underbust pattern from Scarlett! Don’t you just love those lines! This is my first corset with hip gores 🙂 And I love it!
Now I must admit that I didn’t make a mock up of this (I know it’s shameful!) and it turned out a little too big, but it’s actually nice to have a corset that I can do all the way up and it’s not too squeezing! Otherwise I love the shaping of this corset- I’ll just make a smaller size next time 🙂 There will be a next time! I also love the slightly more business feel to this one with the herringbone fabric! I feel like I will get a lot of wear out of this one 🙂 🙂
[Corset 4] This pattern is also a little roomy on me, but it does make for a very comfortable wearing corset! And I love the shape of the top of this corset- perfect for making a matching bra!
I really love the way that this corset turned out, and the fabric- which looks so rich and beautiful! It’s amazing how much your fabric can influence the look and feel of your corset! I’m so happy I have some of this left over, I’ll definitely be making another corset with it!”
If you’re interested in making corsets yourself, you can check out the Express Corset Making Course here.